
So you’ve decided to braid your own hair. Alone. No backup. Just you, your mirror, and whatever willpower you’ve got left after work.
Sounds cute in theory. Until your arms go numb, your parts are crooked, and your braid looks like it’s been through something traumatic.
Welcome to the journey.
Learning how to braid your own hair isn’t impossible — but it’s also not for the faint-hearted. There will be tangled sections. There will be mirror rage. There will be trial and error. But by the end of this guide, you’ll be parting like a pro and braiding like you’ve been doing it since birth.
We’ll cover the basic techniques, beginner-friendly styles, tips for dealing with different textures, and how to not lose your mind when you get to the back of your head.
Because, yes — the back is where dreams go to die. But not today.
How to Braid Hair (Without Having a Meltdown)
How Often Should You Wash Your Hair Based on Your Hair Type
How to Cut Your Own Hair for Beginners (Without Regret)
The Mirror Setup: Your Survival Gear
Before you even Google how to braid your own hair, you need to know: this is war. And no one goes into battle unarmed. Your biggest ally? A mirror setup that doesn’t make you question your life choices every five minutes.
What You Actually Need
- Two mirrors — one front-facing and one handheld or mounted behind you. This gives you a full 360° view of your head without turning into a contortionist.
- Good lighting — natural light is best, but a ring light or bright lamp will save your parts from looking like abstract art.
- Hair clips — these are your extra hands. Use them to section and hold down hair so you’re not chasing rogue strands mid-braid.
- Products — depending on your hair texture, use leave-in conditioner, edge control, or braiding cream to keep things smooth and grippy.
Sectioning Without Losing the Plot (Or Your Part)
Parting your own hair is like trying to draw a straight line blindfolded. The trick? Use your mirror setup to check angles as you part. Clip each section immediately after you create it — trust, one unpinned section can unravel your entire plan (and sanity).
The “Feel Over See” Method
When you get to the back of your head — aka The Bermuda Triangle — don’t rely on the mirror too much. This is where the feel over see technique comes in. Train your fingers to sense where the hair goes. Practice the motions in front first, then repeat them by touch when you’re behind the head. It won’t be perfect at first, but it gets better.
Arm Fatigue is Real — Honor It
Braiding your own hair is basically an upper body workout. Your arms will burn. That’s your sign to pause. Rest between sections, shake out those limbs, and hydrate like the legend you are.
Setting up properly makes how to braid your own hair feel like a mission you can actually complete — minus the emotional breakdown.
How to Braid Your Own Hair for Beginners
If you’re still in the “watching YouTube tutorials and crying” phase of how to braid your own hair, welcome. You’re in the right place. The trick to getting started is lowering the pressure — and the arms — and starting simple.
Begin with the Classic Three-Strand Braid
We’re not jumping into French or Dutch just yet. The basic three-strand braid is your foundation. Take three even sections, cross the right over the middle, then the left over the new middle. Repeat until you reach the ends. That’s it. Master this and you’ve unlocked level one.
Side Braids Are Your Training Ground
Before you try anything in the middle of your head or (gasp) the back, start with side braids. Pull all your hair over one shoulder and braid where you can see what you’re doing. This builds your muscle memory and confidence without the mirror struggle.
Secure with Small Elastics — Not Desperation
Tiny, snag-free elastics are your best friends. They keep the braid in place without yanking out strands when you take them out. Avoid rubber bands or hair ties that require a team of scientists to remove. You’re already doing the hard part — don’t make the end harder.
Practice While Distracted (No, Seriously)
Braiding your own hair can make you overthink every twist. So give your brain a break. Put on your favorite show or listen to a podcast while you practice. The distraction helps your hands learn the movement naturally — like muscle memory with less pressure.
Learning how to braid your own hair takes time, patience, and probably a few failed attempts. But once you get the hang of it, it’s strangely empowering — like you’ve unlocked a hidden life skill you didn’t know you needed.
How to Braid Your Own Hair – Based on Texture
Here’s the thing no one tells you when you search how to braid your own hair: not all hair is created equal. What works for straight hair will leave curly hair crying in the corner, and vice versa. So if you want to braid smarter (and not harder), start by working with your texture, not against it.
Straight Hair: Slippery When Dry
Straight hair loves to slide right out of your fingers — like it’s actively trying to escape. Your weapon of choice? Grip product. A light styling cream, mousse, or texturizing spray will give your strands some friction and make sectioning way less frustrating. Without it, your braid might look cute… for five minutes.
Wavy Hair: Embrace the Damp
Wavy hair is that in-between texture that wants to cooperate but gets frizzy if you look at it wrong. Try braiding it when it’s slightly damp. Not dripping — just misted enough to calm the fluff. Use a lightweight leave-in or curl cream to define sections and give the braid a smooth finish.
Curly Hair: Section Like a Boss
With curls, the key is clear, clean sections. Use a rat-tail comb and clips to part the hair in small chunks before you even think about braiding. Work slowly and gently, using your fingers to detangle as needed. Braiding curly hair takes patience, but the results are some of the most beautiful, voluminous braids out there.
Coily/Kinky Hair: Stretch It, Then Slay It
This texture thrives on moisture, prep, and a good product. Stretch your hair first — with heatless methods or a blow-dryer — to make parting and braiding easier. Then load up on cream, butter, or natural oil to keep your strands hydrated and cooperative. Coily hair holds braids well, but only if you treat it like royalty first.
Learning how to braid your own hair based on your texture isn’t just helpful — it’s essential. Understanding what your hair needs will make the whole experience smoother, less painful, and a lot more successful.
Protective Styles You Can Do by Yourself
Once you’ve gotten past the basic “how to braid your own hair without losing your mind” stage, it’s time to level up with styles that not only look good — but protect your hair in the process. Yes, you can do protective styles solo. You just need the right vibe, a mirror setup, and probably a full afternoon.
Two-Strand Twists: The Easiest Entry Point
If you can twist, you can protect. Two-strand twists are beginner-friendly and don’t require the precision of perfect parts. Just section, moisturize, and twist. They’re quick, low-tension, and versatile — wear them as-is or unravel for a twist-out later. Ideal for all textures, especially coily and curly hair.
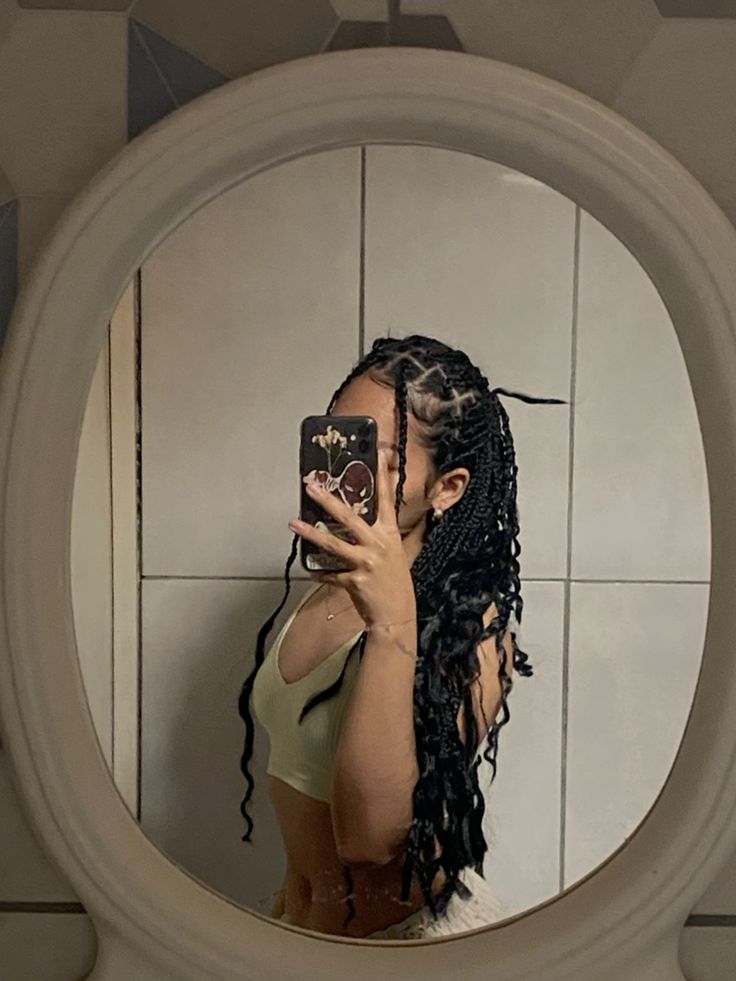
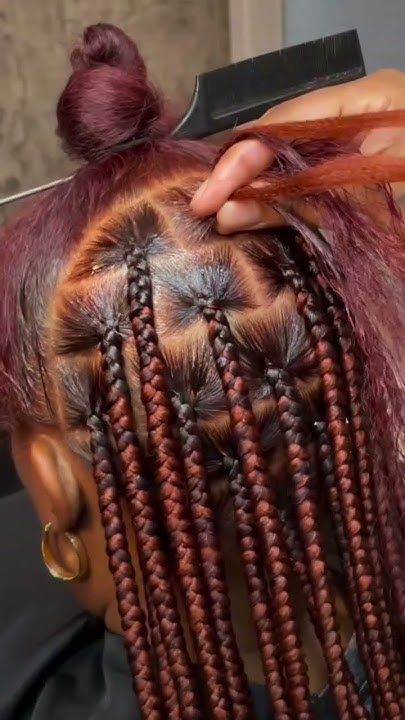
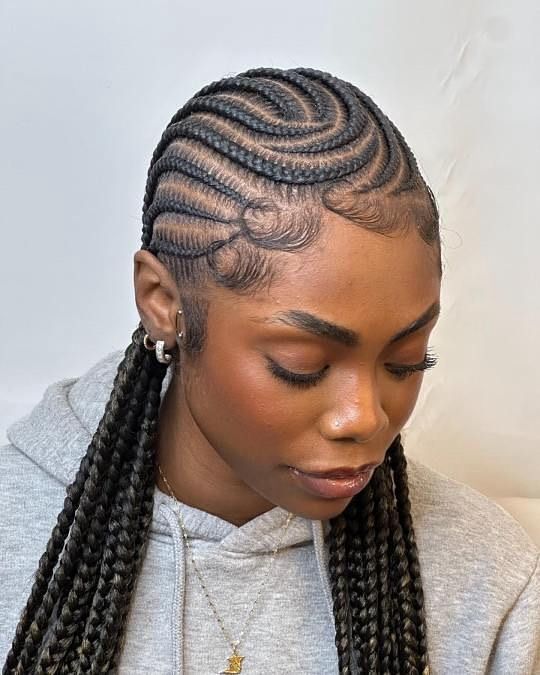
Box Braids (With Time and Patience)
Solo box braids? Totally possible. Time-consuming? Absolutely. But if you’ve got a free weekend (or a few evenings), you can pull it off. Pre-part your hair using clips, moisturize each section, and braid tightly from root to tip. Add extensions if you’re feeling fancy — just don’t forget to stretch your arms between sections like you’re in a yoga class.
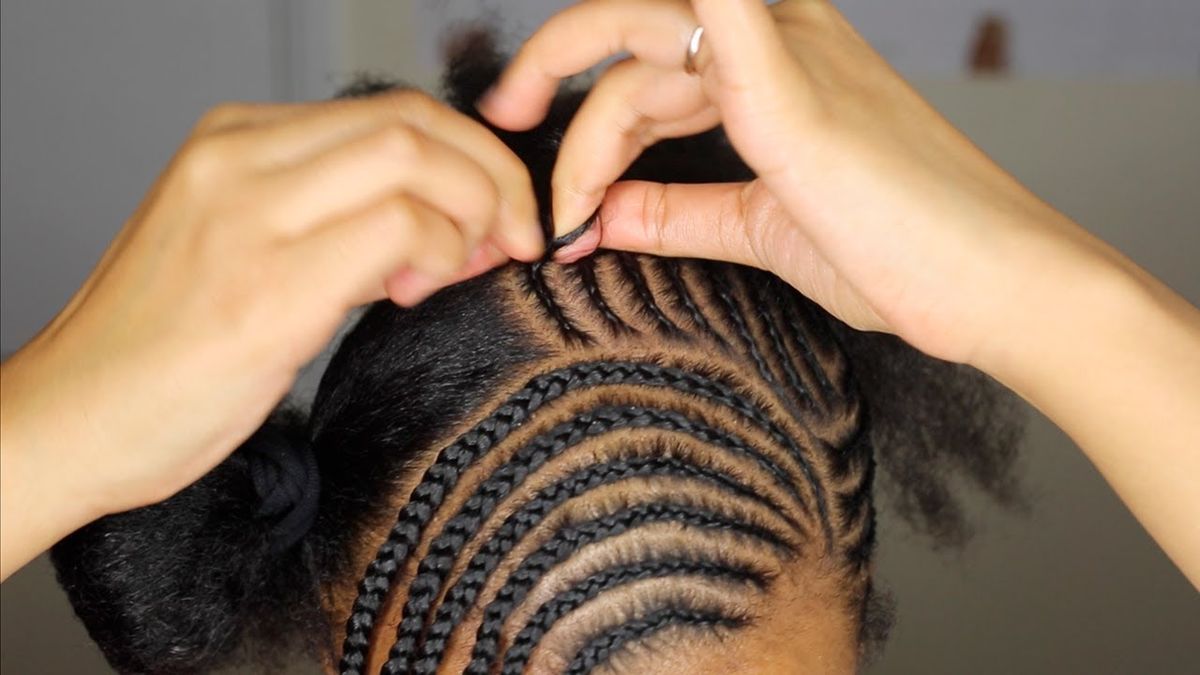
Cornrows for Short-to-Mid Hair
If your hair isn’t long enough for full braids, cornrows straight back are a clean and classic option. Keep the rows small, grip steady, and use gel to help with hold and smoothness. It takes a bit of practice, but they’re perfect for keeping things neat during workouts, hot weather, or general chaos.
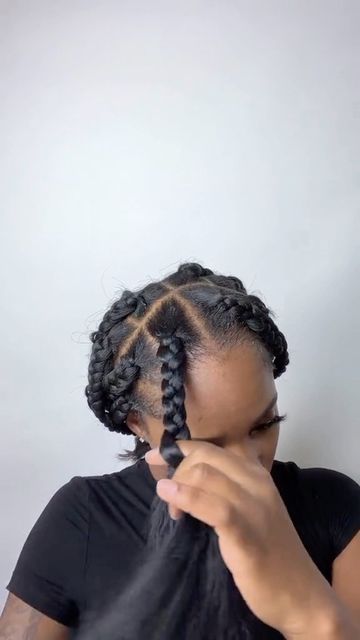
Low-Tension Styles = High Comfort
Not every protective style needs to be scalp-tight. If your edges are whispering “help,” listen. Opt for chunky twists, loose braids, or fluffy flat twists that give your hair a break while still keeping it stylish. Protective doesn’t mean painful.
With a bit of practice, how to braid your own hair turns into how to protect it and look cute doing it — no salon necessary.
Mistakes to Avoid When Braiding Solo
Braiding your own hair is already a challenge — no need to make it harder by tripping over avoidable mistakes. Whether you’re a beginner or you’ve been on your solo braid journey for a while, these common missteps can seriously mess with your progress (and your hair health). Let’s save your ends and your sanity, shall we?
Don’t Start in a Rush
Braiding your own hair takes time, and rushing it usually ends in regret — and uneven parts. Block out time when you won’t be interrupted or pressed for speed. Trust, trying to squeeze in a whole braid session before brunch will only leave you halfway done and fully annoyed.
Don’t Skip Detangling
We get it — detangling is nobody’s favorite task. But skipping it will make braiding harder and your sections messier. Use a wide-tooth comb and start from the ends, working your way up. For curly and coily hair, always detangle with conditioner or a leave-in to avoid breakage. Here’s a great guide on detangling without damage.
Don’t Keep Redoing the Same Braid
If it’s not perfect on the first try — that’s okay. But undoing and redoing the same section over and over can cause split ends and frizz. It’s better to move on and come back later with fresh eyes (and arms). Learn how over-styling can cause breakage.
Don’t Forget to Moisturize Between Sections
Every time you finish a braid and move to the next section, reapply your leave-in, oil, or butter. Dry hair is prone to breakage, especially under tension. This guide to moisturizing hair properly is a lifesaver.
Knowing how to braid your own hair is more than just technique — it’s about care. Avoiding these small mistakes can make a huge difference in how your braids look, how long they last, and how healthy your hair stays underneath. Be gentle, be patient, and remember: good braids start with good habits.
How Often Should You Wash Your Hair? (Spoiler: Probably Not Every Day)
21 Black Male Braids Hairstyles for Work
Creatine and Hair Loss: Is Your Protein Powder Good For You?