
So you’re at home. Probably barefoot. The vibe is quiet. And suddenly, like a possessed thought straight from TikTok, it hits you: I should cut my own hair.
No plan. No tools. No backup. Just you, a mirror, and those scissors you also use to open cereal bags.
If that’s you — breathe. You’re not crazy.
You’re just about to join the millions of people who’ve tried to figure out how to cut your own hair at home using whatever they could find under the kitchen sink. And the good news? It doesn’t have to be a disaster.
This guide is your cheat sheet to getting it done right. No fancy clippers, no ring light setups. Just clear, honest help — for real people, in real homes, with real split ends.
How to Cut Your Own Hair for Beginners (Without Regret)
How to Cut Your Own Hair Without Messing It Up (Seriously
How to Style Natural Hair with Beads
What You Absolutely Need (Even If It’s Just Scissors)
Let’s be real, you’re not in a professional salon. You’re probably in your bathroom, your lighting is aggressively yellow, and your scissors might’ve cut wrapping paper last Christmas. But guess what? You can still make it work. Learning how to cut your own hair at home doesn’t mean you need a cart full of fancy tools, just a little strategy and a lot of patience.
The Bare Minimum:
If you’re going minimalist, here’s your core survival kit:
- Clean, sharp scissors (haircutting shears are ideal, but if it’s all you’ve got, at least clean and sharpen those craft ones)
- A comb to part and guide your cuts
- A mirror — preferably handheld and positioned so you can see the back
- A towel (to wrap around your shoulders unless you enjoy a neck full of hair clippings)
That’s it. That’s the base camp. These four will carry you through most basic trims and shape-ups.
Bonus Tools (If You Happen to Have Them):
- A spray bottle for dampening sections (easier control)
- Hair clips or clamps to divide your hair into sections
- A razor comb for softening ends or thinning out bulk (for the brave only)
How to Fake It If You Don’t:
Don’t have clips? Use rubber bands or hair ties. No spray bottle? Splash your hands with water. No fancy comb? That old wide-tooth one in your drawer will do. You can even MacGyver with kitchen clips if you’re truly in survival mode. The goal is control — not perfection.
Setting Up Your “Salon” (AKA The Chaos Corner)
You’re not in a spa. But you can trick your brain. Turn on all the lights (yes, even the harsh overhead one), wipe down your mirror, and plant your feet. Take a deep breath. This is your space now; your DIY salon powered by vibes and bold decisions.
Because how to cut your own hair at home isn’t just about scissors. It’s about confidence, creativity, and making it work with what you’ve got.
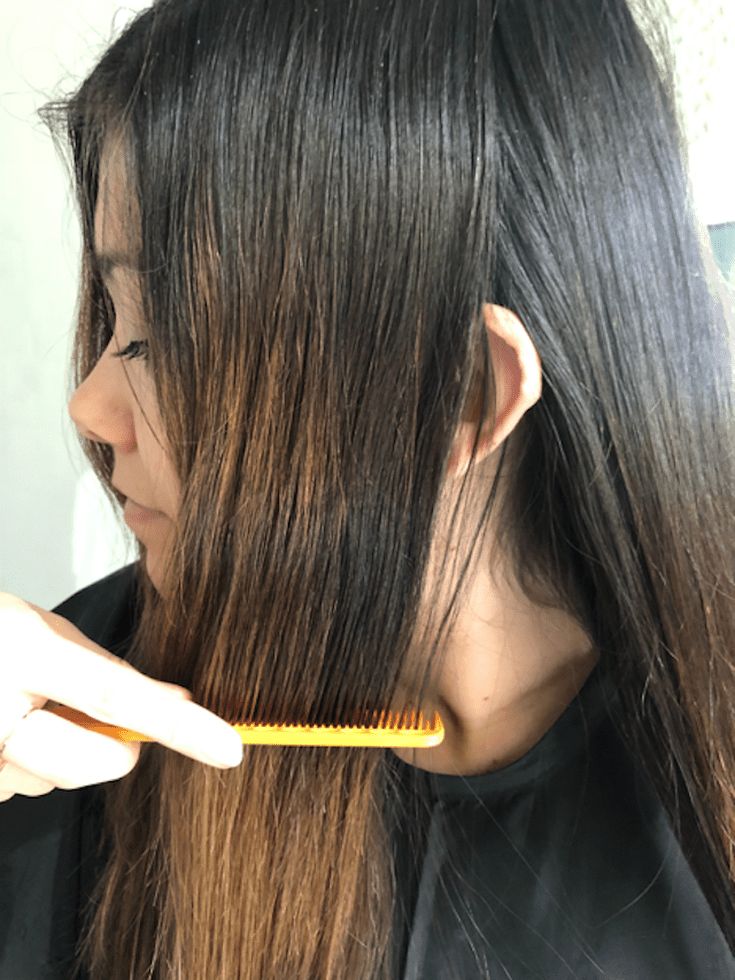
How to Cut Your Own Hair at Home: Straight or Wavy Hair
So you’ve got straight or wavy hair and a vague sense of optimism. Perfect. That’s really all you need to get started. When it comes to learning how to cut your own hair at home, these textures are actually on your side — they’re predictable (mostly), easier to section, and let you see mistakes before they become regrets.
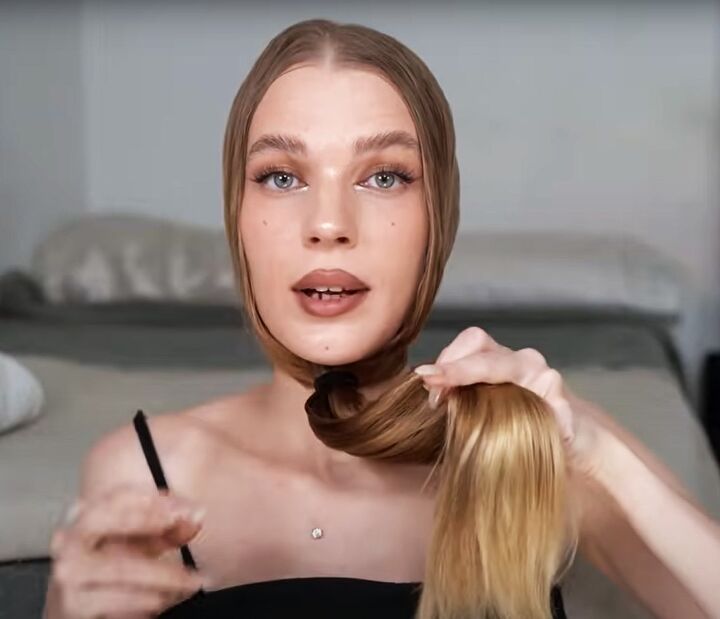
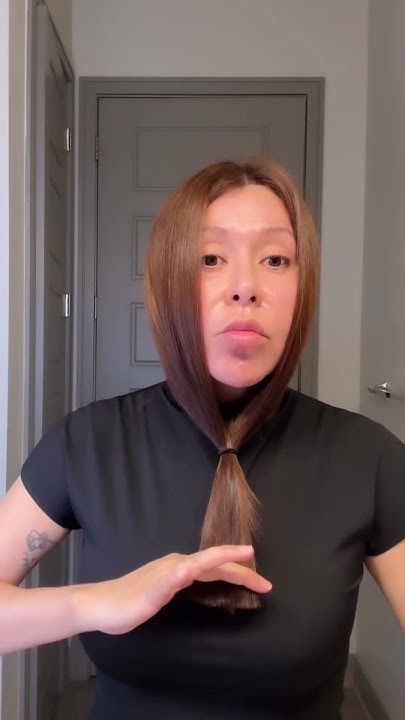
The Ponytail Method: Twist and Snip
Here’s the OG trick: brush all your hair forward, tie it into a low ponytail on your forehead like a unicorn (we’ll get to that in a sec), twist the tail, and snip the ends. The twist softens the line so it’s not blunt. This method works best for light trims and layering ends without math or a prayer circle.
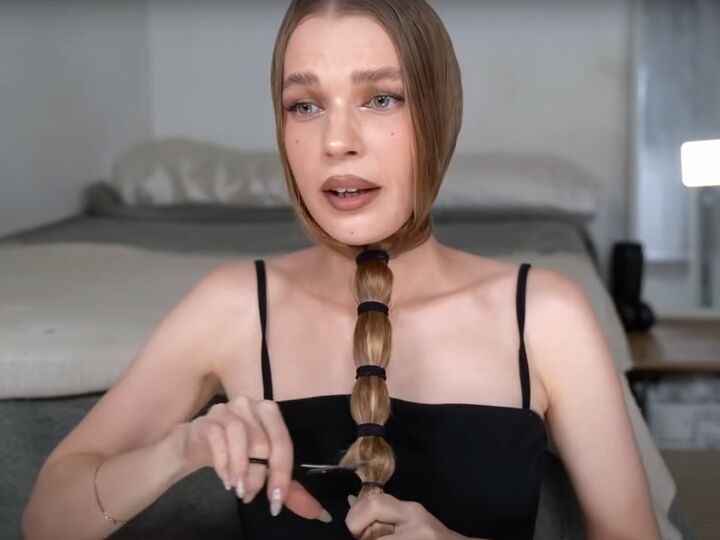
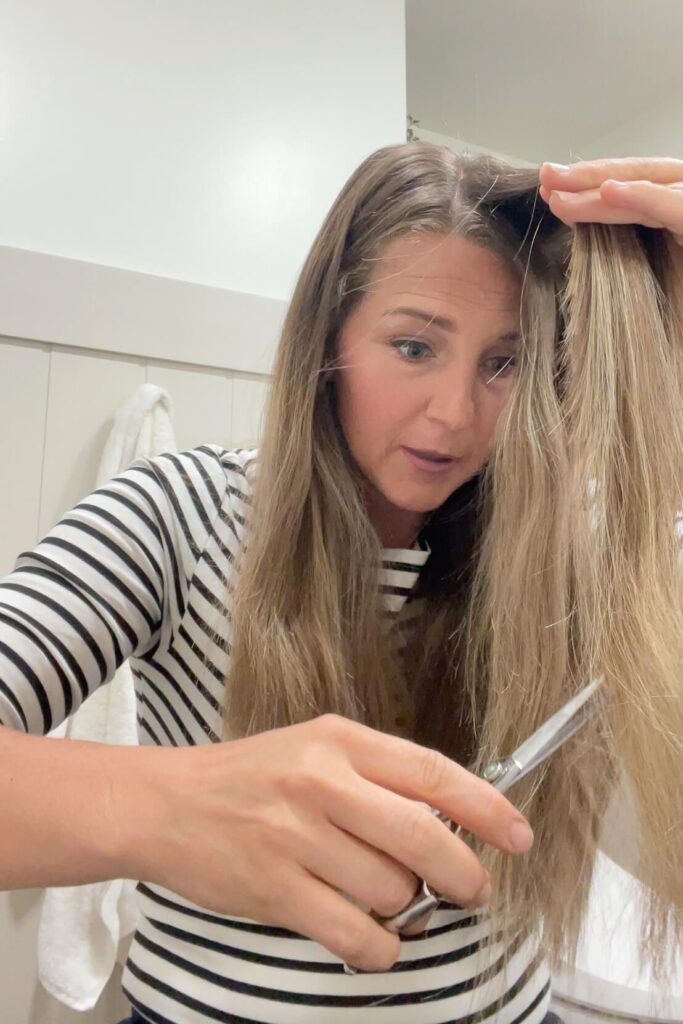
The Unicorn Cut for Layers
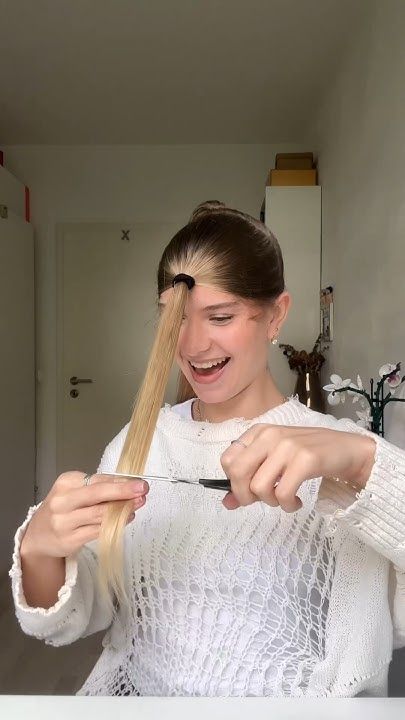
Want actual layers? Do the same ponytail-on-the-forehead move, but pull it higher — like right at the center of your forehead. The higher the ponytail, the more dramatic the layers. Comb it forward evenly, and cut horizontally for soft, graduated layers. Then release and pretend you just walked out of a salon. It’s magic. Almost.
Trimming Bangs Without Recreating 2007
Listen closely: bangs are not where you experiment. If you must, cut dry, start long, and cut vertically (not straight across unless you’re emotionally prepared). Use your fingers to guide and go slow. Like, painfully slow.
Dry vs. Wet: The Great Debate
If your hair is straight, cut dry so you can see exactly how it’ll fall. If it’s wavy, slightly damp is okay, just don’t soak it unless you want surprise shrinkage. Cutting wet might give you false confidence. Proceed accordingly.
Mirror, Mirror (You Liar)
Be careful with your angles , mirrors can distort reality like bad friendships. Use two if you can, and check the sides and back before committing to a cut.
Because how to cut your own hair at home is part art, part science, and part trusting your gut — with maybe a little post-cut styling to save the day.
Beginner Tips to Avoid Looking Like a Hedge
So you’re standing there, scissors in hand, about to test your destiny. Deep breaths. Cutting your hair isn’t rocket science — but it can turn into topiary work if you’re not careful. Here’s how to cut your own hair at home without ending up with an accidental bob or a surprise bald spot.
Rule #1: Don’t Cut More Than an Inch at a Time
This isn’t a race. Or a breakup haircut. Cut small sections and trim just an inch (or even less). You can always take more off — but once it’s gone? That’s a therapy session.
Check Both Sides. Then Check Again
One side always looks better. That’s the trap. Use two mirrors or take selfies from all angles. What feels “even” rarely is. Your hairline will snitch on you later if you skip this.
Use Your Fingers, Not Your Frustration
Your fingers should act like a ruler and guide. They help control the length, especially if you’re snipping vertically (which you should be). Rage-cutting leads to chaos. And uneven bangs.
Look at the Big Picture — Repeatedly
Stop after every few snips. Step back. Reassess. Ask yourself: Does this still feel like a good idea? If yes, carry on. If no, now’s your chance to pause before things get experimental.
Because learning how to cut your own hair at home isn’t about perfection — it’s about staying calm, going slow, and knowing when to put the scissors down.
How to Cut Your Own Hair at Home – For Afro Hair
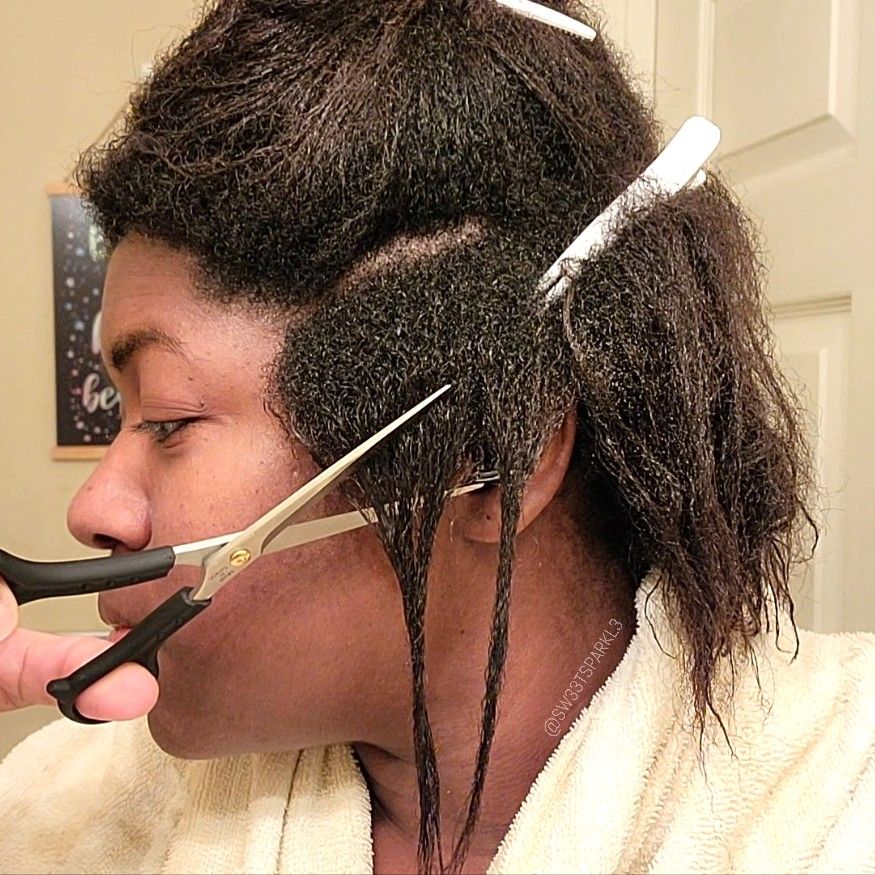
Afro hair is glorious, bold, and full of personality — but it also doesn’t play around when it comes to trimming. So if you’re learning how to cut your own hair at home, and you’ve got coils, kinks, or tight curls, you’re in the right place (and no, you’re not about to mess this up).
Start with a Full Detangle (Yes, All the Way Through)
Don’t just fluff the top and call it a day. You need a thorough detangle — roots to ends — so you can actually see what you’re working with. Try a wide-tooth comb, your fingers, or both, and use a leave-in conditioner to make the process easier.
Cut on Twist-Outs or Stretched Hair
Want even results? You’ll get better shape by trimming on stretched or twist-out hair. Shrinkage will lie to you. Stretch the hair using bands, twists, or a quick blow-dry (on low heat) to get a clearer idea of where to cut.
Section or Snip Curl-by-Curl
For shape and volume, cut curl-by-curl. For even trims, section your hair into parts and trim each section equally. Mini sections will help you stay in control and avoid random patches.
Use Leave-In or Oil for Softness
If your hair feels dry or stiff, don’t cut just yet. Dry Afro hair resists movement and can lead to uneven cuts. A bit of leave-in conditioner or lightweight oil can help soften your strands and make trimming smoother (and kinder).
Shrinkage = Lies
Remember: what you cut when stretched will bounce back shorter when dry. Always cut less than you think you need — your curls will do the rest of the math for you.
Learning how to cut your own hair at home with Afro-textured hair isn’t about chasing perfection. It’s about honoring your curl pattern, going slow, and keeping your crown healthy. You’ve got this.
Short Boho Locs for Busy Women
Most Popular Cornrow Hairstyles 2025
27 Natural Cornrow Hairstyles for Adults
If It Goes Wrong: The Emergency Fix List

So… you went a little too hard with the scissors. Maybe that one section is now half the length of the rest. Or maybe your attempt at layers looks more like levels in a video game. Breathe. If you’re learning how to cut your own hair at home, mistakes happen, and luckily, so do fixes.
Cut Too Short? Distract and Style
First off: don’t panic. You can’t glue it back, but you can distract. Add some texture to your hair — think waves, curls, or braids, to soften the blunt ends and make the cut look intentional. Use styling creams or curl refreshers to brush it up. And when all else fails? Headbands are your new best friend. A chunky one can hide uneven sections and make the whole thing look chic.
Uneven Layers? Fake the Flow
If you’ve somehow created the world’s weirdest staircase on your head, curl the layers or create movement using a blow-dryer and round brush. Texture hides a multitude of sins, and a few bouncy curls can help blend everything together — no one will even notice that one rogue piece on the left.
Bobby Pins: The Real MVP
Grab a few bobby pins and use them to tuck stray strands, pin back uneven sides, or fake symmetry. Strategic pinning works magic. Use this trick until you can get a proper clean-up, or until your hair grows out enough for a safe second attempt.
When in Doubt, Delay and Cover
If all else fails? Throw on a hat, cancel that Zoom, and let your hair live its life in peace for a while. Even pro stylists have off days — your scalp (and pride) will survive.
Because even when how to cut your own hair at home doesn’t go perfectly, you can still rock the aftermath.
How to Keep It Looking Like You Meant It
So you’ve done it. You figured out how to cut your own hair at home, and while it might not be exactly what you had in mind… it’s not a total disaster. Now it’s time to finesse it — to style like you meant every snip.
Add Waves, Curls, or Volume
The easiest way to hide tiny uneven spots or awkward sections? Add texture. Use a curling wand, a twist-out, or just some overnight braids to introduce movement. Volume makes the cut look purposeful and polished — even if it’s secretly chaos in the back.
Dry Shampoo = Instant Fluff
No time to restyle? A little dry shampoo or hair powder gives instant lift, so your roots don’t look flat and sad. Plus, it helps mask any spots that might feel thinner after your home haircut heroics.
Master the Art of Parting
A deep side part. A crisp middle part. A messy off-center zig-zag. Don’t sleep on the power of parting — it can change your entire silhouette. Part your hair in a way that flatters your face and hides anything you’re not quite ready to reveal.
Embrace the Messy Vibe
When all else fails? Go full messy-chic. Tousled buns, fluffy ponytails, and “I woke up like this” textures all give you permission to pretend this was the vision from day one.
Learning how to cut your own hair at home is equal parts bravery, YouTube tutorials, and sheer vibes. You can check out some expert tips and breakdown of DIY haircut methods from Allure to help you feel a little more confident. It won’t always be perfect, but it can be functional, flattering, and even kind of fun. And I mean, hair grows back. So give yourself a little grace, keep the bobby pins close, and rock that DIY glow with pride.