We’ve all been there, staring at a gift, scissors in one hand, tape stuck to your shirt, and wrapping paper doing its own thing like it has a mind of its own.
Wrapping a gift should be simple, right? But somehow it turns into a wrestling match between you and a crinkly sheet of paper. If that’s ever been you, don’t worry. You’re not alone.
This guide is going to walk you through how to wrap a gift without losing your mind or ending up with tape in your hair.
And trust me, by the time you’re done with this, you’ll wrap gifts like a pro — smooth, clean, and way easier than you ever thought.
Why Does Gift Wrapping Even Matter?
Some people ask, “Why bother wrapping a gift at all? Isn’t the gift the main thing?” Fair question. But the truth is, presentation matters. It’s the first thing someone sees before they even touch what’s inside.
A well-wrapped gift tells the person, “I care. I took time.” It builds up the excitement. Even a simple gift feels more special when it’s wrapped nicely.
What You’ll Need Before You Start
Before you go reaching for the duct tape (please don’t), here’s what you actually need to wrap a gift properly:
- Wrapping paper (any kind you like — plain, patterned, festive, whatever)
- Scissors (sharp enough to cut clean lines)
- Clear tape (invisible tape works best for a clean finish)
- A flat surface (don’t try this on your lap)
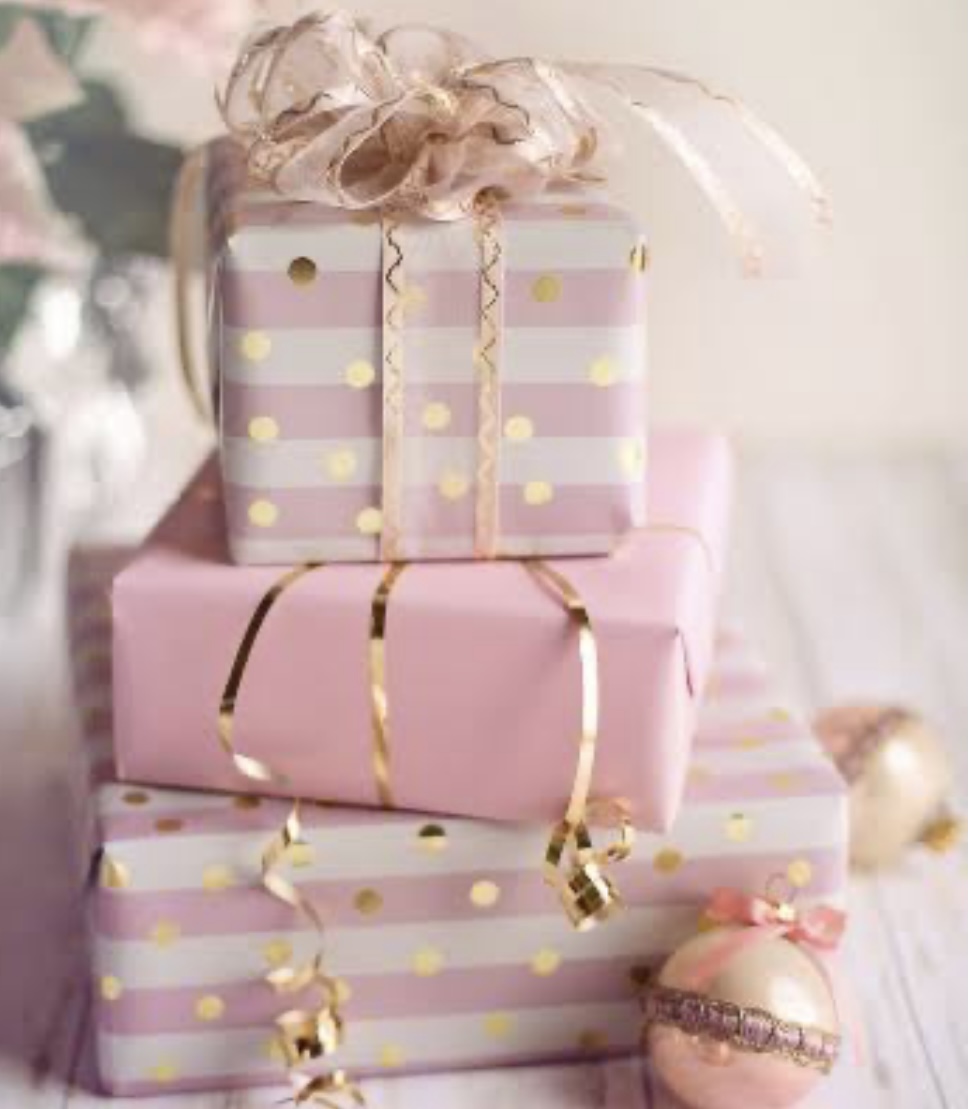
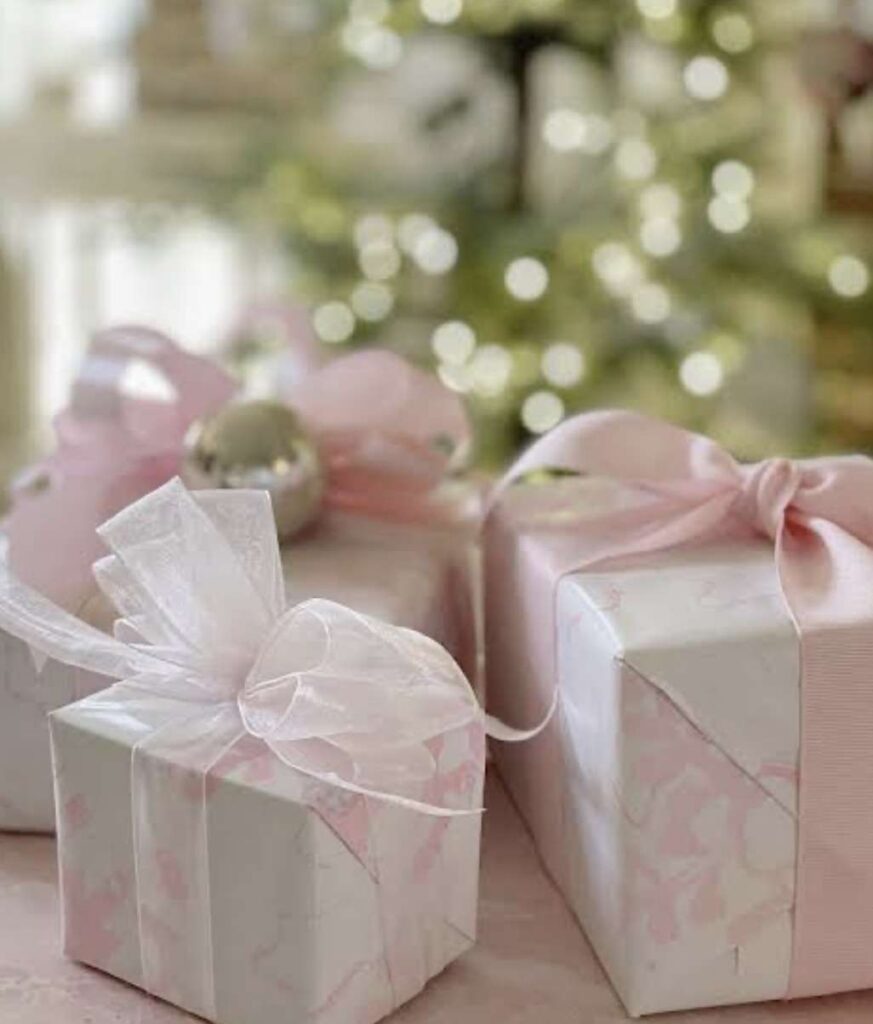
- Ribbon or bows (optional, but makes it look extra nice)
- Gift tags or a pen (because you don’t want someone else taking credit for your perfect wrapping)
Now that you’ve got your tools, let’s get into the actual steps of how to wrap a gift.
Step 1: Measure Before You Cut
This is where most people mess up. They grab the gift, roll out some paper, eyeball it, and cut. Then halfway through wrapping, they realize the paper doesn’t cover the box. Disaster.
Instead, place the gift box face down on the backside of the wrapping paper. Pull the paper up and around the box to make sure it fully wraps around. You want enough extra paper on both sides to fold in and cover the ends.
Once you’re sure the size is right, go ahead and cut. Try to keep the edges as straight as possible. Crooked cuts don’t just look messy — they make the whole thing harder to fold.
Step 2: Place and Center the Gift
With your wrapping paper cut and ready, place the gift in the center. If one side of the wrapping paper is shinier or has a pattern, make sure the pretty side is facing down. The plain side should be touching the gift. This way, when you fold it, the pretty part shows on the outside.
Centering the gift properly helps with even folds on both ends. You don’t want one side to look perfect and the other side to look like it was wrapped by a raccoon.
Step 3: Make the First Fold
Pull one long side of the wrapping paper over the gift. Tape it down gently but firmly. Then pull the other side over and overlap it slightly on the first side. Make sure it’s tight but not so tight that it tears the paper.
This is where invisible tape does the magic. Place a piece right where the two paper ends meet. If you want it to look extra clean, you can double the tape under the flap so it doesn’t show at all.
Step 4: Tidy the Edges
Now you’ve got to deal with the two open ends of the gift — the part where most wrapping jobs fall apart. Don’t just crumple it up and tape it down. Here’s what to do instead:
- Push the top flap down. You’ll see two side flaps forming little triangles.
- Push the side flaps in so it starts to look like an envelope.
- Fold up the bottom flap and tape it down.
If the paper’s too long and it bunches up, trim it a little before folding. The neater the folds, the cleaner your final look will be.
Step 5: Smooth Out and Admire
Before you go adding ribbons or bows, run your hand gently over all the sides. Smooth out any wrinkles or puffed-up parts. This makes it look professionally done, even if you were winging it.
Okay, so you’ve wrapped a box. Great job. But what happens when your gift isn’t a nice square box? What if it’s a stuffed teddy bear? Or a basketball? Or a coffee mug with a weird handle? Let’s be real — most gifts don’t come in perfect boxes. So now it’s time to learn how to wrap a gift that doesn’t play by the rules.
Use Gift Bags Like a Pro
When the shape is weird and wrapping paper won’t cut it, a gift bag is your best friend. Don’t feel guilty for using one. Gift bags are quick, cute, and come in all sizes. Just drop in the gift, toss in some tissue paper, and boom — done. You can even tape the tissue to the inside of the bag so it stays fluffed up nicely.
But here’s a trick to make your gift bag game even stronger: match the tissue paper color with the bag. Or choose a bold color that pops. Don’t just stuff old crumpled paper from last Christmas in there. A little effort goes a long way.
Wrapping Round or Odd Shapes
If you still want to use wrapping paper, you can. Just try this method for round or bumpy gifts:
- Place the gift in the center of the wrapping paper
- Gather the edges of the paper up around the item like you’re wrapping a piece of candy
- Twist the ends and tie them with ribbon or string
This works really well for soft items like clothing, plush toys, or small round gifts. It gives the gift a fun look, and nobody will expect what’s inside.
Make a DIY Gift Box
When in doubt, make your own box. You can take an old shoebox, cereal box, or even fold thick paper into a square container. Wrap the box separately from the lid so the person can still open it easily. This method saves you the headache of figuring out how to fold paper around weird curves.
Cloth Wrapping: Easy, Reusable, Beautiful
Want to try something different that also helps the planet? Try wrapping your gift with cloth. This method is called “Furoshiki” in Japanese culture, and it’s surprisingly simple. Just take a square piece of fabric, place your gift in the middle, and tie the opposite corners over the top. It creates a soft, elegant package and can be reused as a scarf or napkin.
Cloth wrapping is great for small boxes, candles, or bottles. And the best part? No tape needed. That means fewer things to run out of at the last minute.
Use Kraft Paper for a Minimalist Look
Kraft paper is that brown paper you see on packages. It’s simple, cheap, and actually makes your gift look modern and classy. You can decorate it with twine, leaves, or a handwritten note to make it personal.
If you like writing, use a black marker to doodle or write a quote on the wrapping. People love that kind of touch. It turns basic wrapping into something that feels custom and thoughtful.
Make It Personal
This might be the most important tip: make the wrapping reflect the person. If they love flowers, add a pressed flower to the top. If they’re into cartoons, use stickers. If they love reading, tie on a little bookmark. These little extras don’t cost much, but they make the person feel seen. And honestly, that’s what giving a gift is all about.
Don’t Skip the Name Tag
It sounds obvious, but you’d be surprised how many people forget to label their gifts. Or worse, they just scribble the name on the wrapping with a pen. Don’t do that.
Use a gift tag or a small card. You can tape it to the top or punch a hole in it and tie it on with ribbon. Write the name clearly and maybe add a short message like “Can’t wait for you to open this” or “Hope this makes you smile.” These small notes add warmth and charm.
What If You Really Can’t Wrap?
Let’s keep it real — not everyone has the patience or time. If wrapping just isn’t your thing, don’t stress. You can get gifts wrapped at most stores, or even ask a friend who’s good at it to help. It’s not cheating. It’s knowing your strengths and letting someone else shine.
And if you’re wrapping last minute? Keep a few gift bags and some tissue paper in your drawer for emergencies. It’ll save you during birthdays and holidays when you’ve got zero time and a pile of gifts to wrap.
Why This Matters More Than You Think
People remember how you made them feel. A well-wrapped gift tells someone they matter to you. Even if the gift isn’t expensive, the effort behind the wrapping can make it feel priceless. It’s not about being perfect. It’s about showing you cared enough to try.
So whether you’re wrapping with cloth, paper, or just tossing it in a gift bag with flair, do it with heart. Your vibe will show through — every time.
How to Wrap a Gift Without Spending Too Much
Look, not everyone has the time or money to go buy fancy paper, shiny ribbon, and those little stick-on bows that cost more than the gift itself. Wrapping doesn’t have to drain your wallet. In fact, some of the best wrapping tricks are the cheapest ones.
Reuse What You Already Have
You’d be surprised what you already have at home. Old magazines, newspapers, brown paper bags, and even leftover fabric can be turned into wrapping gold. Newspapers give a cool vintage vibe. Fabric looks soft and classy. You can even use old scarves or tea towels — now the wrapping becomes part of the gift.
Have extra shopping bags lying around? Flip them inside out, decorate with stickers or doodles, and boom — you’ve got a custom bag. Zero cost. Full style points.
Buy Wrapping Supplies After the Holidays
Here’s a little secret from the wrapping pros: always shop for wrapping supplies the week after a big holiday. Stores are dying to get rid of leftover Christmas paper, bows, and boxes. You’ll get stuff for 70% off or more. Stock up then, and you’ll thank yourself later.
Keep It Neat, Not Complicated
People often overdo it. Too much tape, too much ribbon, and then a mountain of glitter that ends up in everyone’s mouth. Don’t worry about being flashy. The goal is to make the gift neat, clean, and thoughtful.
A simple bow, a clean fold, and a sweet little note can go a long way. Less really is more when it comes to wrapping.
How to Wrap a Lot of Gifts Without Losing Your Mind
Let’s say it’s Christmas or a big birthday bash and you’ve got ten gifts to wrap. That’s when things start to feel like a chore. Here’s how to speed things up without turning your living room into a disaster zone:
- Clear a space. Don’t wrap gifts on your bed or the couch. Use a table or even the floor — just somewhere flat and open.
- Set up a wrapping station. Get your scissors, tape, paper, tags, and ribbon all in one spot. No back-and-forth every five seconds.
- Group gifts by size. Wrap all the small ones first, then the medium ones, then the big ones. That way you don’t have to keep switching paper sizes.
- Pre-cut your paper. If you know you’ve got five gift boxes of the same size, cut all five pieces of wrapping paper first. Saves time and energy.
And remember — music helps. Put on your favorite playlist or a chill podcast while you wrap. It makes the whole thing feel way less like a chore.
Common Wrapping Mistakes to Avoid
Even the best of us mess up sometimes. Here are the most common wrapping slip-ups — and how to dodge them:
- Too little paper: Always measure first. If you try to stretch it, you’ll end up with a gap that’s impossible to hide.
- Too much tape: Tape is great, but don’t overdo it. You want the gift to look neat, not like it’s been sealed in for life.
- Using scissors that don’t cut: Nothing ruins a clean wrap like jagged edges. Make sure your scissors are sharp.
- Skipping the tag: You don’t want to hand someone a gift and then realize you have no idea who it was for. Always label it.
- Leaving wrinkles: Smooth it out as you go. It makes a huge difference in how polished the final gift looks.
Smart Storage for Next Time
Once you’re done wrapping, don’t toss everything into a random drawer. Save yourself future stress by organizing your leftover supplies. Get a small box or plastic container and label it “wrapping stuff.” That way, the next time you need it, you’re ready to go in seconds.
Roll up the paper so it doesn’t crease. Store ribbons, scissors, and tape together. And if you saved bags from gifts you received, add them to the box too. They’ll come in handy later.
Gift Wrapping Isn’t Just About the Gift
At the end of the day, wrapping a gift is more than just paper and tape. It’s about building excitement. It’s about showing care. It’s a way of saying, “I thought about this,” without even saying a word.
It doesn’t matter if you spent ten dollars or a hundred. When someone sees a neatly wrapped gift with their name on it, they feel seen. That’s powerful.
And If It’s Not Perfect?
That’s okay. Seriously. If your folds aren’t straight, or your ribbon keeps sliding off, or your paper tears in the corner — it’s fine. Nobody’s expecting you to be a professional gift wrapper. What matters most is the love behind it. And if it makes someone smile before they even open the box, then you did it right.
So now that you’ve got the tools, the tricks, and the confidence, go wrap something. Whether it’s a birthday, a holiday, or just a surprise gift for a friend — do it your way. Clean, fun, and full of heart.
That’s how to wrap a gift like someone who truly means it.